To prepare yourself for decoupaging fabric with our DIY tips, start by understanding the importance of choosing the right fabric, washing and drying it thoroughly and then ironing it. These three sub-sections are essential to consider before diving into the decoupaging process.
Can you Decoupage Fabric
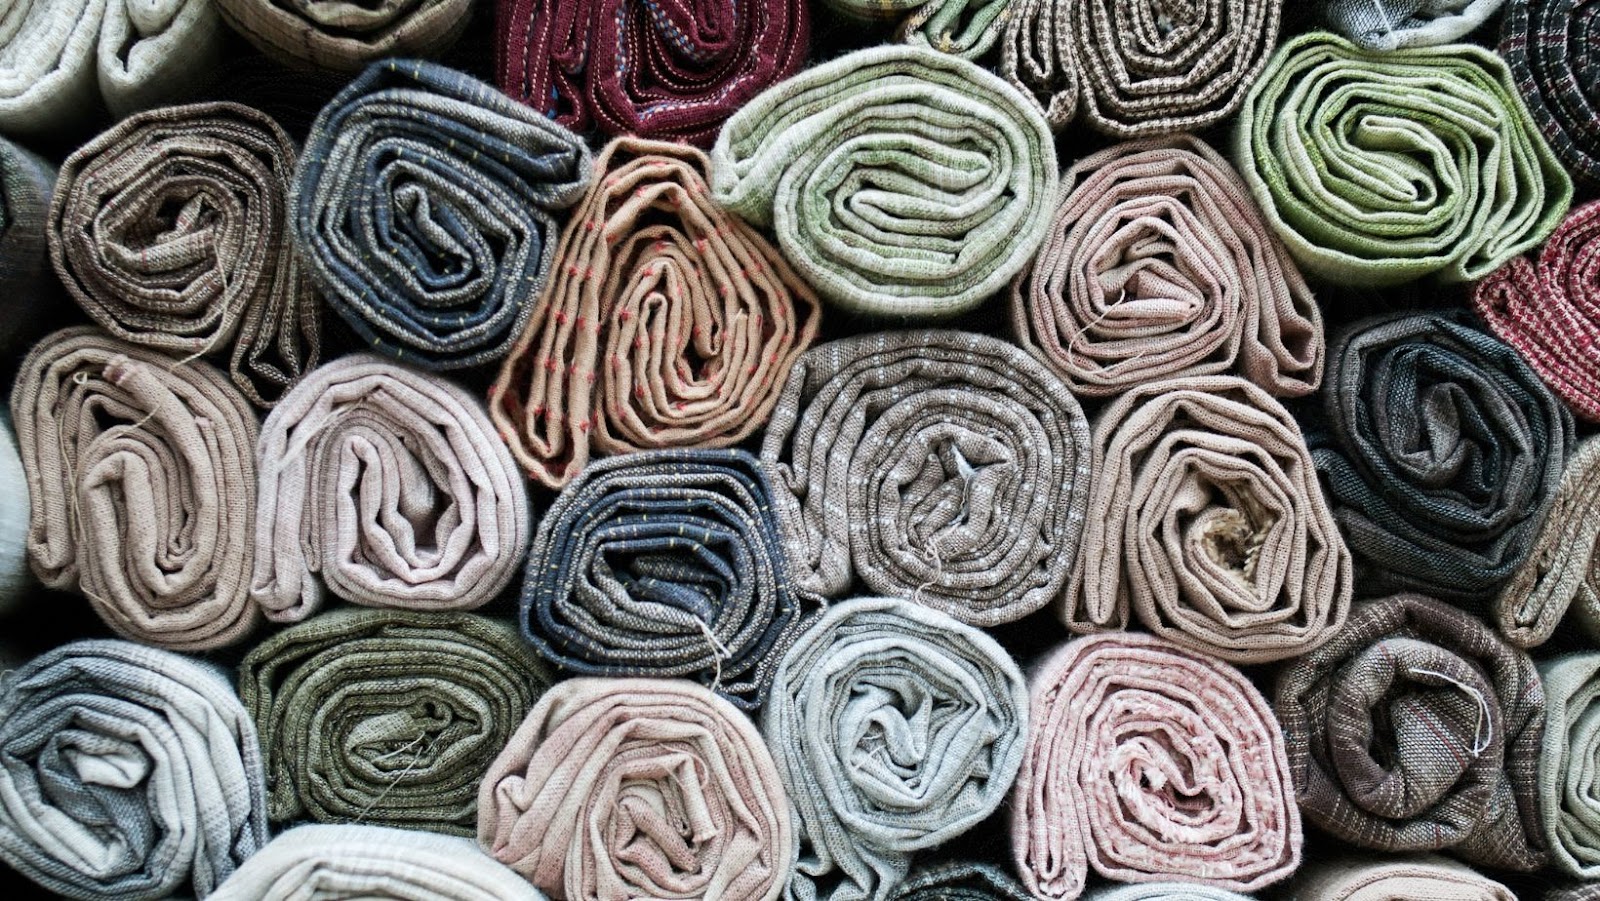
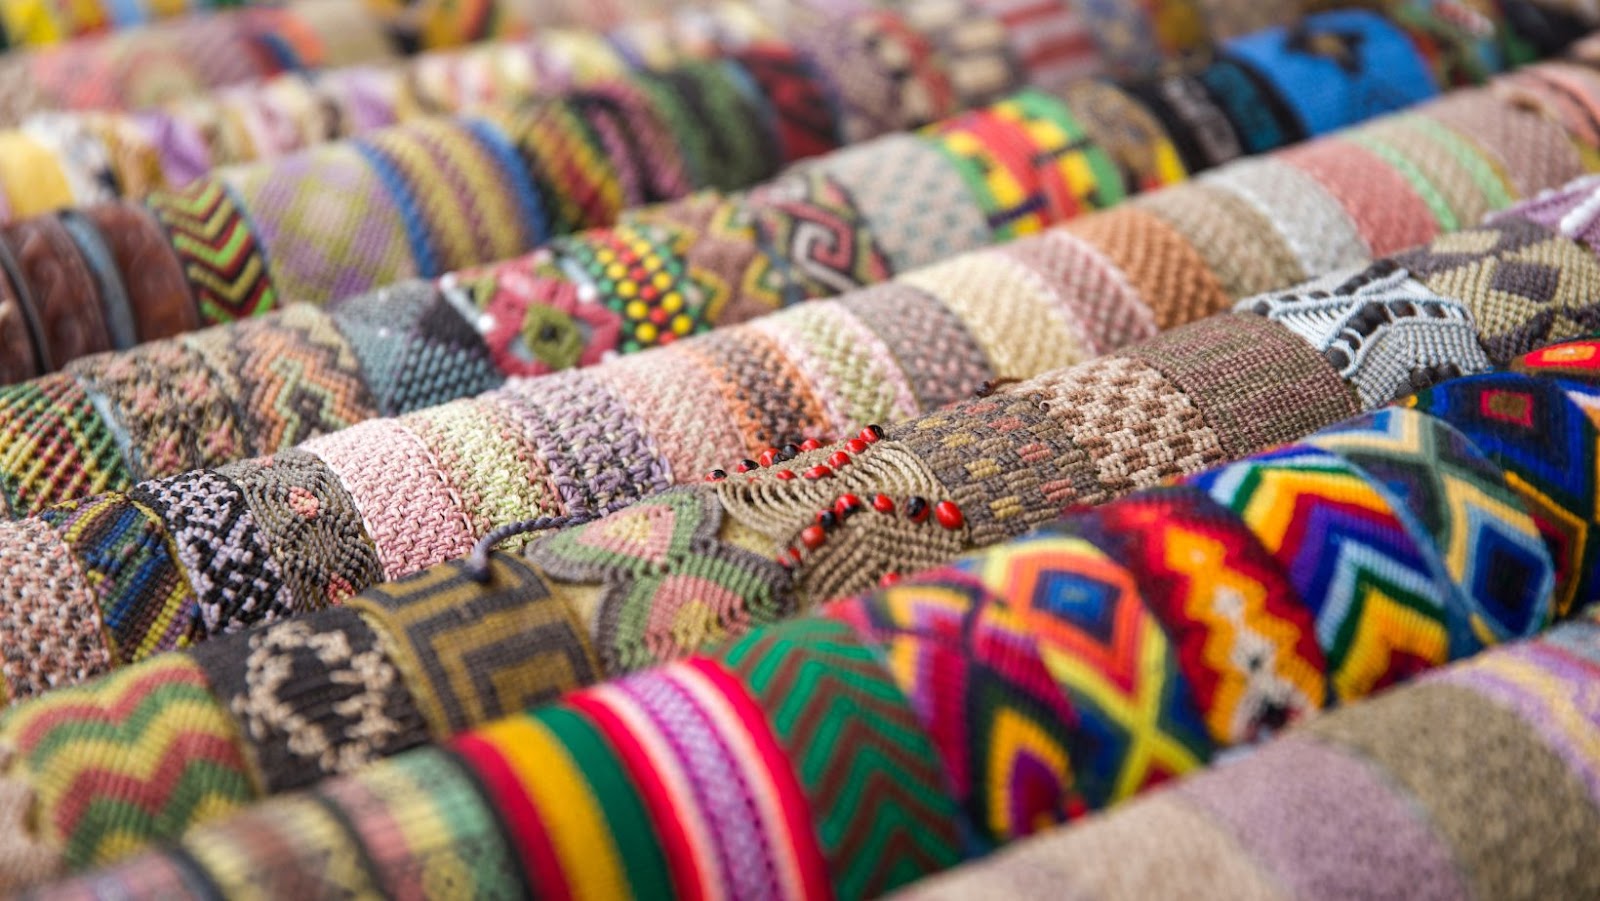
To ensure successful decoupaging on fabric, selecting the appropriate fabric is vital. One must consider various factors, including the type of project, colorfastness and fiber content.
The table below outlines the essential elements to contemplate when choosing fabrics for decoupaging:
|
Factors to Consider |
Description |
|
Fiber Content |
Determine if it’s 100% natural or synthetic fiber or a blend |
|
Loom Type |
Consider the weave structure: plain, twill, satin etc. |
|
Thread Count |
Higher thread count provide added durability and better hold onto adhesives. |
|
Print Scale |
Larger prints are easier to work with as compared to small ones that tend to get lost in background details. |
|
Colorfastness |
Ensures that colors do not bleed or fade in wet conditions |
It is also crucial to pay attention to the texture of the fabric while selecting as a smooth surface will make handling easier for beginners. Polyester blends and cotton are two popular fabrics used for decoupaging.
It is noteworthy that silk and velvet materials may require more adhesive layers than average fabric types.
According to experts from DecoArt Inc., “Polyester-cotton blends make great substrates for decoupage projects because they are durable and resist wrinkling.”
Time to give your fabric a good bath and tumble, just like your ex’s heart after that breakup text.
Washing and Drying of Fabric
When preparing to decoupage fabric, it is crucial to ensure that the fabric is appropriately washed and dried. Cleaning the fabric before using it for any crafting project prevents any dirt or stains from affecting the final product.
A 5-step guide to wash and dry fabric includes:
- Read the care label to know how to safely clean.
- Separate fabrics by color and washing instructions.
- Use hot water if possible, but avoid using bleach or fabric softeners.
- Dry on a delicate cycle or lay flat to air dry, depending on the care label’s instructions.
- Iron if necessary, in line with the care label instructions.
It is essential to note that some fabrics may require specialized cleaning methods, such as handwashing or dry cleaning. Also, some materials may shrink when exposed to heat or water.
An interesting point about washing and drying fabric is that early Egyptians sanitized linens by soaking them in a mixture of water and baking soda. This process was not only effective in preventing mold growth but also helped whiten and soften linen fibers.
Give your fabric a steamy hot date with the iron, and watch it smooth out all its wrinkles.
Ironing the Fabric
Fabric Preparation through Flatten & Smoothen Methodology
To prepare fabric for decoupaging, it is important to ensure that the surface is smooth and free from any wrinkles or creases. This can be achieved by ironing the fabric.
Here’s a 4-step guide to ironing the fabric.
- Set your iron on low heat.
- Lay the fabric flat on an ironing board.
- Gently press the iron in a back-and-forth motion over the fabric until all wrinkles are gone.
- Turn off the iron after use
Additionally, make sure that your fabric doesn’t have any synthetic fibers as they may melt under heat exposure and ruin your project.
Fun Fact: Did you know that Iron was first used around 1000 BC in China? (Source: Encyclopædia Britannica)
Take your fabric from drab to fab with decoupage – it’s like giving your clothes a DIY facelift.
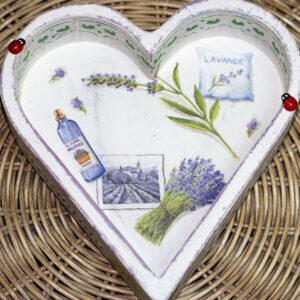
Decoupage Technique for Fabric
To master decoupaging fabric using the decoupage technique, you need to apply the decoupage medium on the fabric first. Placing the decoupage paper or design over the medium comes next, followed by smoothing out the wrinkles to ensure the surface is neat. Finally, the process ends with adding another layer of decoupage medium, which enhances the design on the fabric.
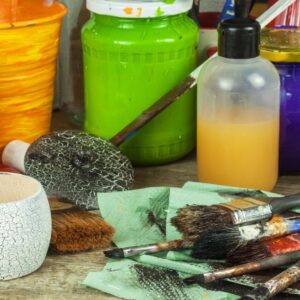
Applying the Decoupage Medium
Incorporating the Decoupage Medium onto Fabric:
To apply decoupage medium to fabric, use a brush or sponge to spread the medium evenly over the surface. Avoid using too much to prevent wrinkles and bubbles.
Follow these three steps when applying your decoupage medium:
- Prepare your fabric by washing and ironing it beforehand.
- Cut out the image you want to transfer and remove any excess paper from around the edges.
- Using a brush or sponge, cover both the fabric and image with a layer of decoupage medium. Smooth out any bubbles or wrinkles carefully before letting it dry for at least 24 hours.
Remember not to wash your fabric for at least two weeks after application as it needs time to cure fully. Also, choose a high-quality fabric that can withstand stretching and pulling after decoupaging.
Did you know? The word “decoupage” originated from the French verb “decouper,” which means “to cut out”.
Get ready to stick it to ’em with these decoupage paper placement tips.
Placing the Decoupage Paper or Design
After choosing the decoupage paper or design, it is time to place it on the fabric. Here’s an easy 4-step guide:
- Cut the desired decoupage paper or design to fit the desired area.
- Apply a thin layer of decoupage glue on the fabric.
- Press firmly with your fingers or a tool to remove any air bubbles and wrinkles.
- Cover it again with another layer of glue to seal and protect the design for durability.
For finer details, ensure that the design is not covering any seams or edges, and let it dry completely before proceeding with other steps.
Pro Tip: To achieve a cohesive look, match colors and patterns with your fabric and choose designs that complement each other.
Say goodbye to wrinkles, because with the decoupage technique for fabric, your clothes will finally look like they’ve had a good night’s sleep.
Smoothing out the Wrinkles
Achieving a Flawless Finish
To achieve a wrinkle-free finish while creating fabric decoupage, it is essential to follow a few simple steps:
- Ensure that the fabric is evenly stretched over the surface to avoid any creases or folds.
- Next, apply the decoupage glue smoothly and methodically in one direction.
- Lastly, allow ample drying time before handling the piece to prevent smudging or wrinkling.
When smoothing out any minor wrinkles, use a foam roller or sponge brush to gently press down on the affected area. Be careful not to use excess pressure as this could damage both the fabric and underlying surface. For deeper creases, lightly misting them with water and placing a clean cloth over them for several hours can help relax the fibers and smooth out the wrinkles.
For small touch-ups, an iron set on low heat may be used after spot testing to ensure it does not cause any damage to the material. However, avoiding ironing larger areas of fabric is recommended as this could potentially lead to further wrinkling or even permanent damage.
Pro Tip: Always handle your decoupage projects with care to minimize the risk of accidental wrinkling or damage during handling and display. Get ready to layer up like a cake – we’re adding another coat of decoupage medium!
Adding Another Layer of Decoupage Medium
To enhance the Decoupage Technique for Fabric, applying an extra layer of Decoupage Medium is crucial. Applying additional Decoupage layer adds durability and longevity to the fabric. Here’s a guide that will walk you through six easy steps in adding another layer of Decoupage Medium.
- First, ensure the previous layer of decoupage medium is entirely dry.
- Then, mix the decoupage medium thoroughly.
- Using a paintbrush or sponge brush, apply a thin layer of decoupage onto your fabric gently.
- Allow it to dry completely before you move on to the next step.
- Apply multiple layers if desired, bearing in mind waiting for each layer to dry thoroughly before proceeding.
- Once your final coat is dry, let it sit for 24 hours before using/washing the fabric.
Additionally, using Decoupage Medium as an adhesive when applying designs ensures seamless results regardless of intricate patterns or designs used in your work. Making small incisions where necessary (for air bubbles) while applying second and subsequent coats prevents bubble formation making it even more suitable for use in various applications.
When using richly colored fabrics such as silk or velvet, testing this technique first on scrap fabrics would be best if you want impeccable results free from streaks and patches.
Remember that the amount of decoupage medium applied affects drying time and final results’ overall quality and appearance—the thicker coat applied taking longer to dry and crystalize fully. However, thinner layers create highly translucent artistic masterpieces with superior flexibility – ideal for wearable art projects that require flexibility like bags and clothing items with face lines/curves executed perfectly by a skilled seamstress/tailor.
Adding another layer of decoupage medium not only guarantees durable artworks but also helps mask any scratches, blemishes which could occur during wear-and-tear over time without distracting from the design’s beauty; refurbishing your work just got better!
Wrap up your decoupage fabric project like a boss with these finishing touches that will have you saying ‘nailed it’ (or at least avoiding any embarrassing unraveling).